While gate valves are simple and do not depend on a rubber gasket to seal, some common issues may lead to dismantling and rebuilding the valves. For example, blocked pathways and jamming are common issues that obstruct the opening and closing operation. However, gate valves are easy to dismantle, clean and rebuild. Top Singapore gate valve manufacturers explain the whole process.
Dismantling gate valves
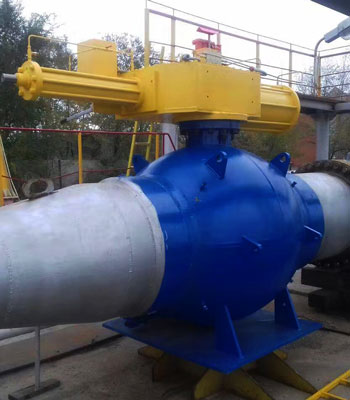
Gate valves are screwed between two pipelines or on a valve.
Rebuilding gate valves
It is a simple task to rebuild the gate valves.
You can use sealant tape or new pipe dope to re-fix the valves.
When you dismantle the gate valve, you will have a clear picture of the interiors of the valve body and seat portion. You can easily clean the interior of the body and the seat portion with a cleaning liquid. With a dismantled gate valve, you can perform the following repairing tasks:
Check for scratches on the seat ring and wedge surface.
Lap emery paste on minor scratches. You can use the lapping fixture of the body seat to do this.
Deep scratches will require machining and lapping. In this process, the threaded seat rings and 'right hand' threading are machined and removed from the body using the lugs. You must load the complete body on the machine if the seat rings are welded to the body.
If the wedge surface has heavy damage, lapping and machining of the entire seat surface should be followed by hard facing. This process will add a layer of weld deposits as per body size.
Clear bonnet box, including the old gland.
Clean the bonnet from the inside.
Lap surface of seat bush.
Clean all the threaded parts of the york sleeve and spindle.
Apply grease on the threaded portion using a grease gun.
Polish non-threaded part of the spindle using grinding or lathe machine.
Change the joint gasket and place new gland packing in the box.
Grease the spindle-threading part.
Some of the general maintenance you need to perform are:
Valves are designed to work for years, but improper storage, lack of regular maintenance, and contamination of particles will reduce life expectancy.
At Oilway, one of the leading valve suppliers of Singapore, we bring you the best and high-quality industrial valves and petroleum machinery for all your industrial needs. Contact us for more details.
 China
China Russia